Artifactory Setup
Complete the steps for setting up the Artifactory tool
Overview
Artifactory is the environment’s artifact repository manager. Before you can use it as part of the continuous integration pipeline, it first must be configured as part of the environment.
Configuration
Set up Artifactory in the environment with a Helm repository. Also, set up the environment to access Artifactory.
Set up Artifactory
Create a repository in Artifactory for storing Helm charts.
Open the Artifactory dashboard from the Developer Dashboard and login
Log into Artifactory using the default userid and password,
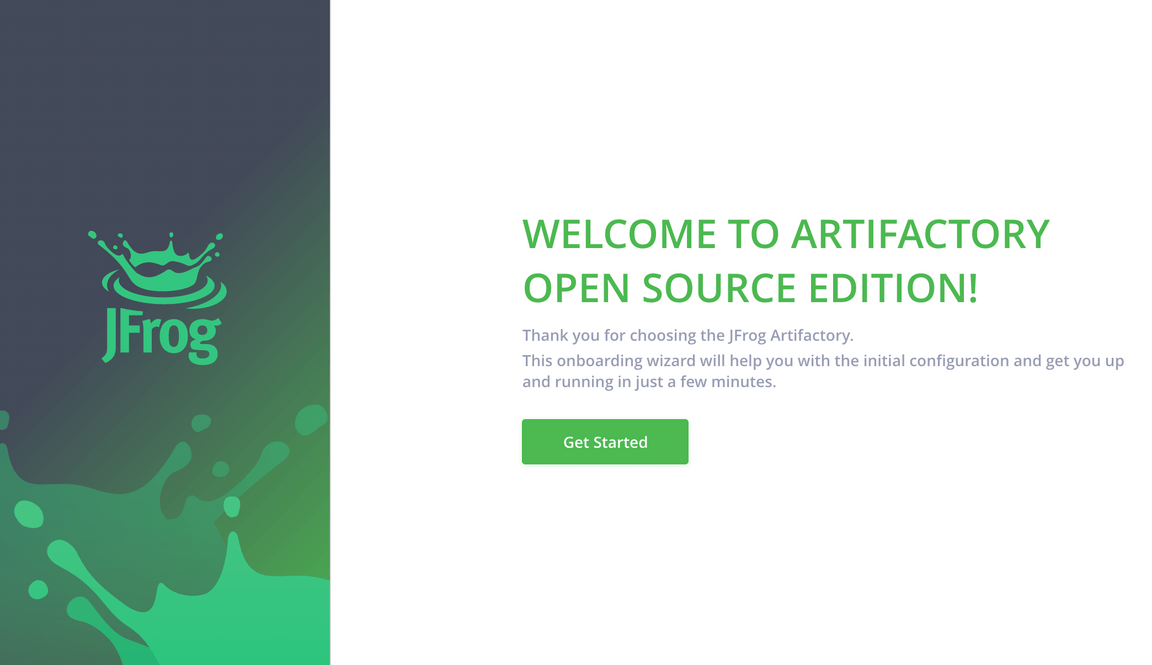
igc credentialscan show these values. The first time you log in the Welcome Page will prompt you to configure Artifactory using the Onboarding Wizard.Press Get Started
The first step of the setup wizard is to change the default password. It is recommend you use a password generated by a password manager. 1Password is the tool IBM recommends to its employees.
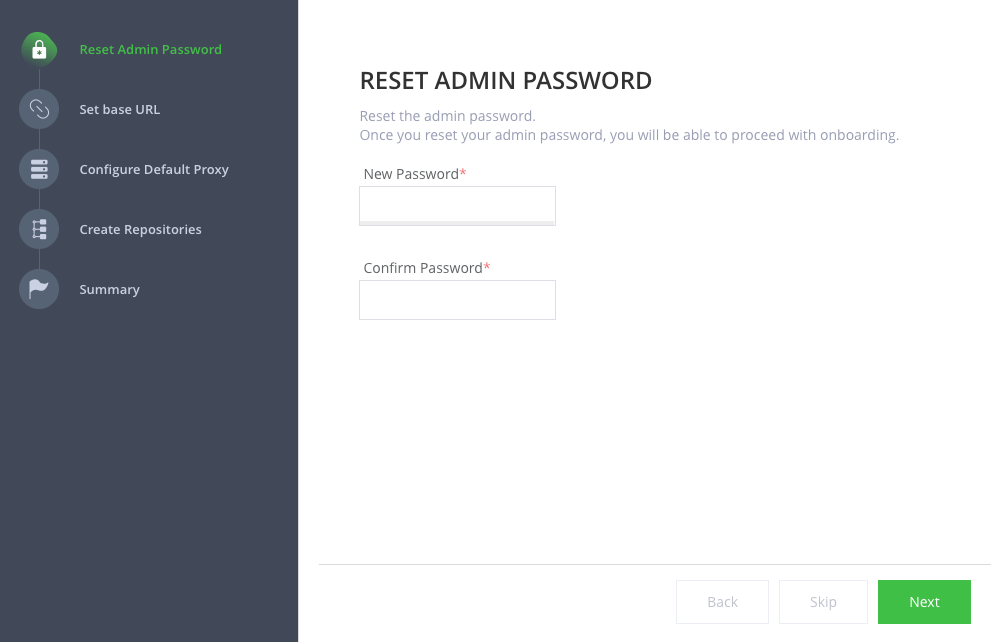
Save the password somewhere safe or in your password manager; you will need to manually update the password in the
secretthat is stored in thetoolsnamespace/project calledartifactory-access. There are more detailed instructions after you have completed the setup wizard.
The next step is to define the base url that will be used by the server.
From the browser you are currently using copy the
URLfrom the address bar.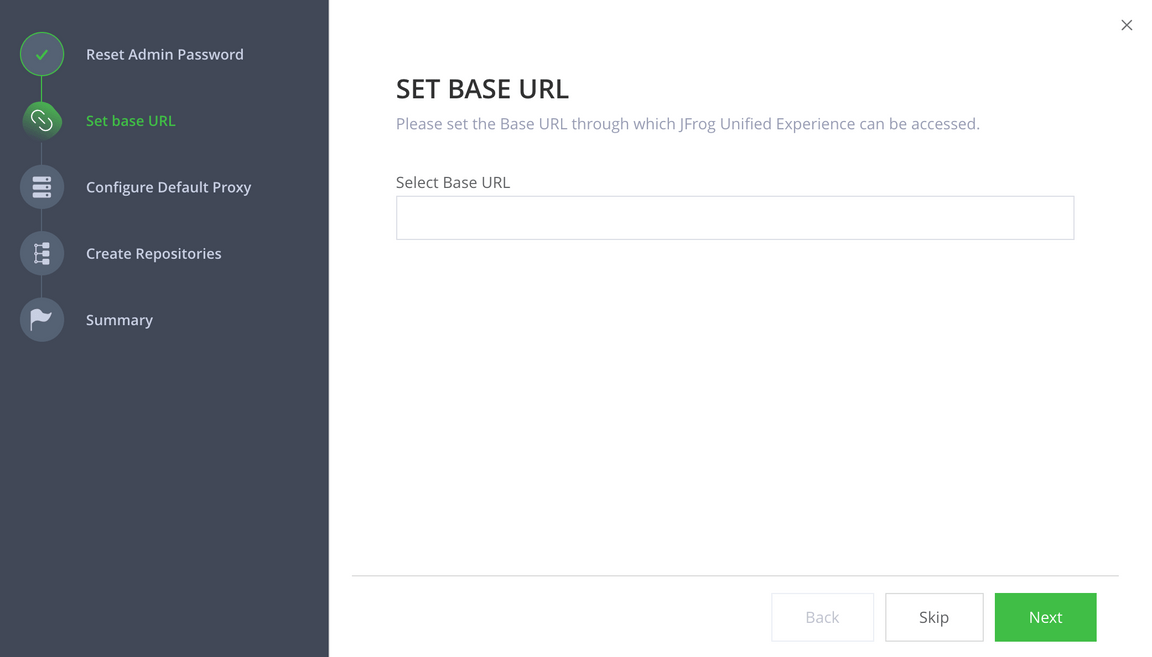
Paste the URL into the Select Base URL form and remove any trailing context roots, similar to the one in this view.
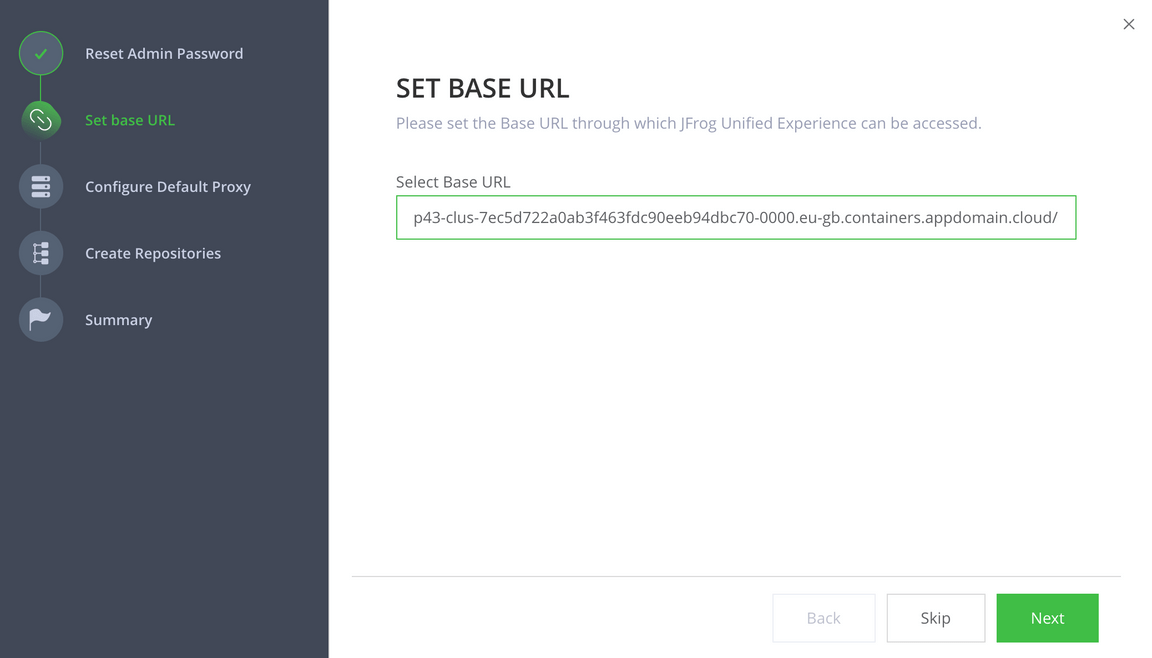
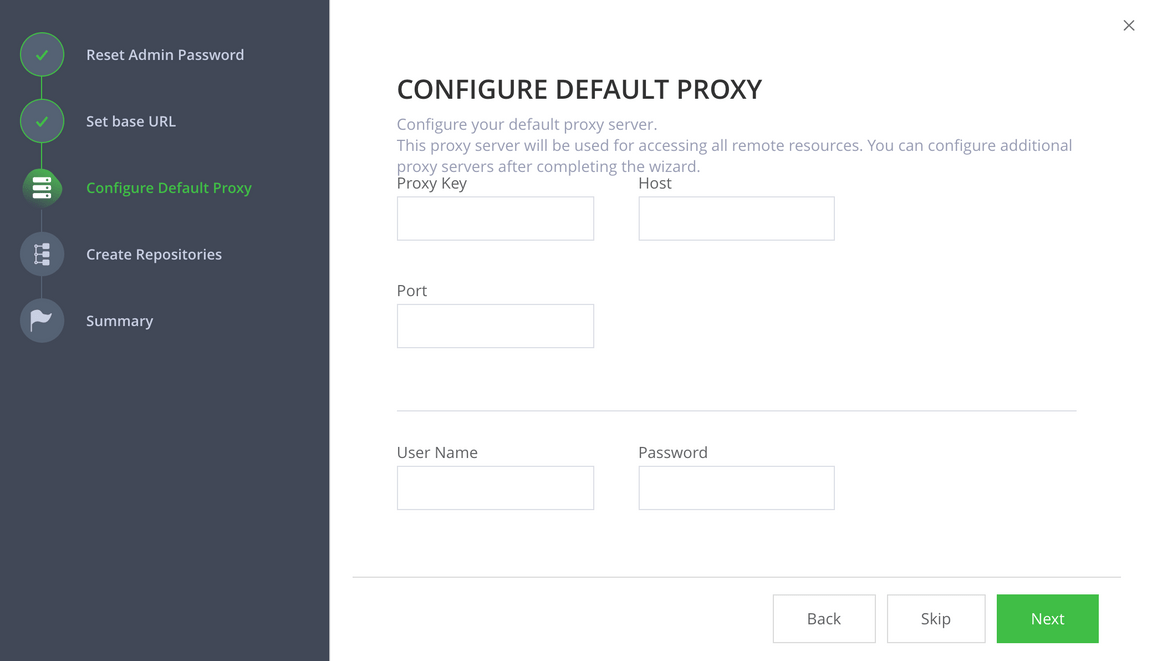
The next page in the wizard is the Configure a Proxy Server page. This is to setup a proxy for external resources. You can click Next to skip this step.
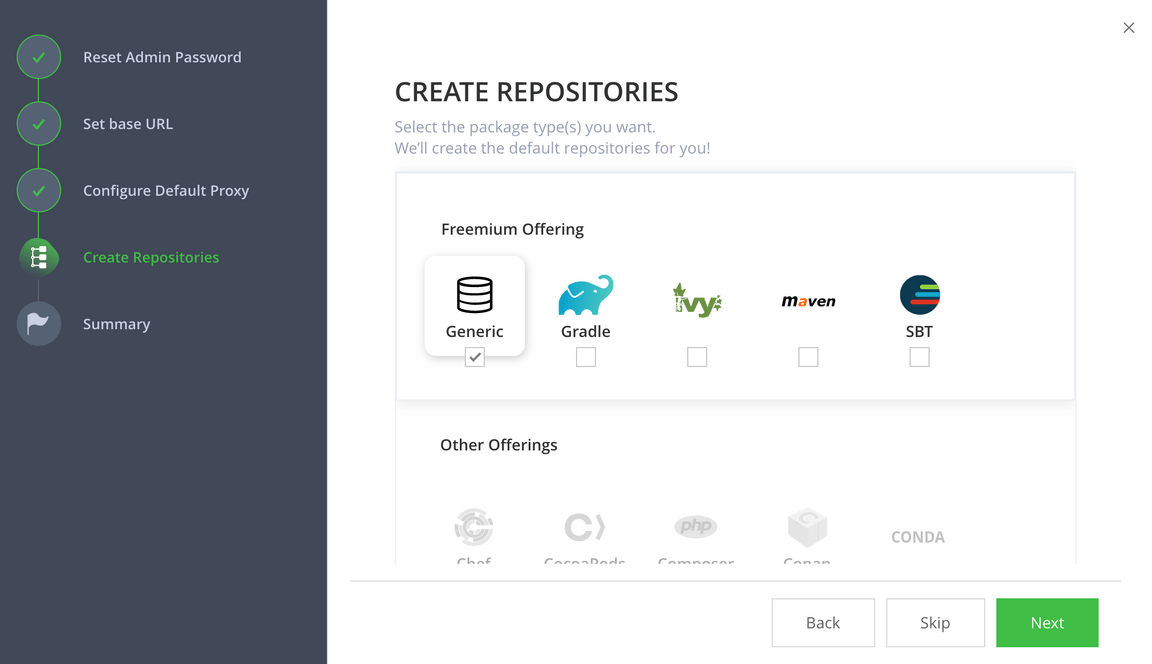
The next page in the wizard is the Create Repositories page. Since the open source release of Artifactory doesn’t provide a package for Helm repositories, we will use a generic repository to hold the helm artifacts.
Select Generic, then press Next
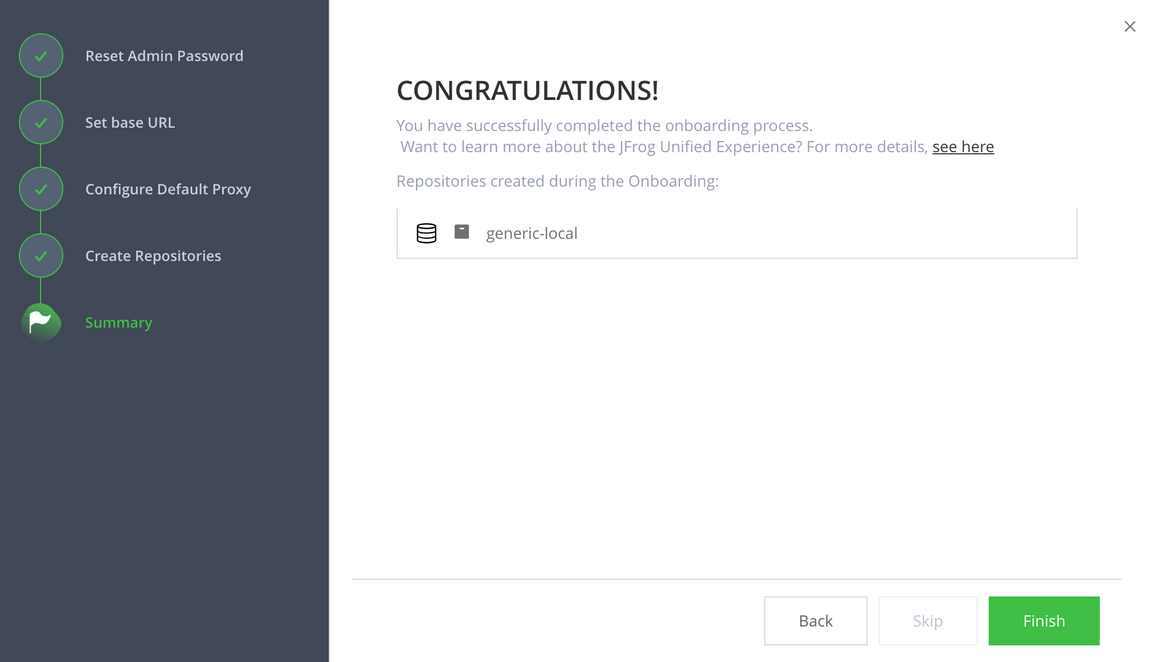
The next page in the wizard is the Onboarding Complete page.
Press Finish
Allow Anonymous Access to Artifactory
Open the Artifactory dashboard from the Developer Dashboard and login
Click on the Settings tab on the left menu (the one with the gear icon), and then select Security

Check the
Allow Anonymous Accesscheck box and press Save
Obtain the encrypted password
To enable the CI pipelines (Jenkins, Tekton, etc.)
to store the Helm artifacts in the Artifactory repository, we need to obtain
Artifactory’s encrypted password and save it where the pipeline can access the password — in the artifactory-access
Kubernetes secret in the tools namespace in the Development Tools environment.
In the Artifactory console, press the Welcome, admin menu button in the top right corner of the console and select Edit profile
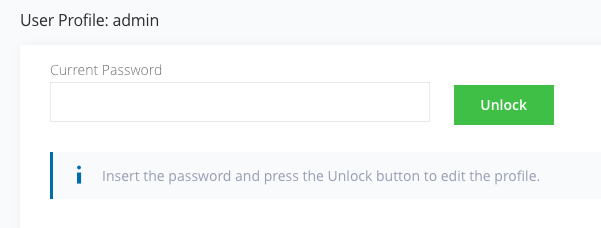
In the User Profile: admin page, enter you Artifactory password and press Unlock
Below, in the Authentication Settings section, is the Encrypted Password field.
Press the Eye icon to view the encrypted password and press the Cut & Paste icon to copy it
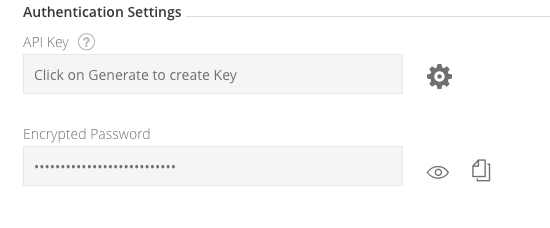
Now we have obtained the Encrypt key and had kept a copy of the Password we changed on the initial setup wizard. We need to update the secrets that stores these inside the cluster.
Update the secret - OpenShift 4
In the OpenShift 4 console, go to Administrator > Workloads > Secrets. At the top, select the
toolsproject and filter forartifactory. Select Edit Secret onartifactory-access. (You do not need to base encode these values the OpenShift console does this for you.)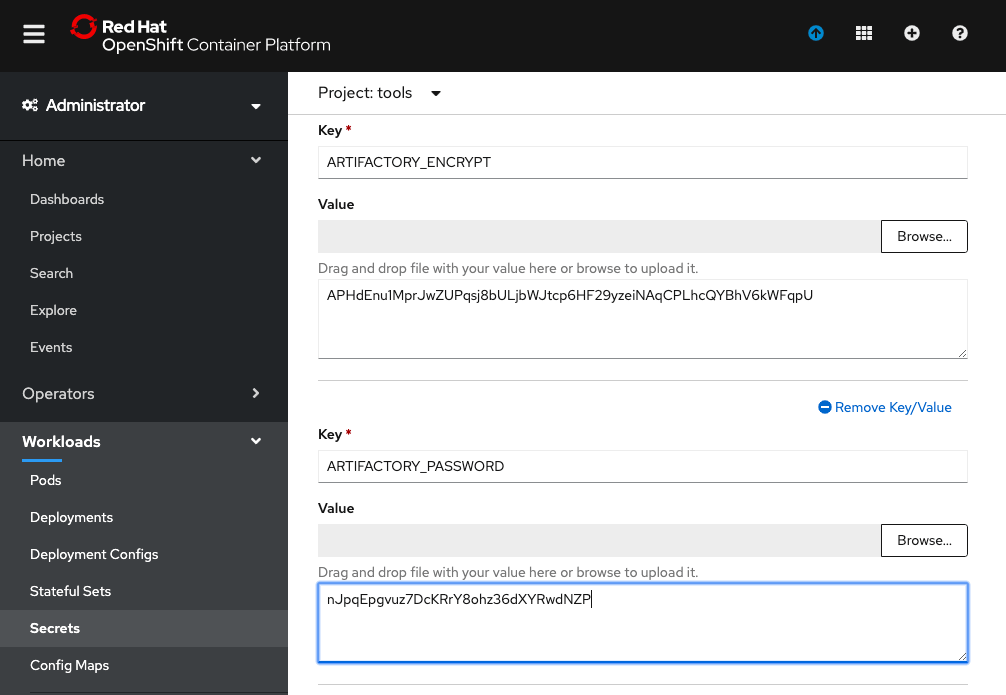
Update the values that you retrieved for the encrypt key and updated the admin password
- Add a key/value for
ARTIFACTORY_ENCRYPTand set the value to your encrypt key value - Update the
ARTIFACTORY_PASSWORDvalue with thew new admin password
- Add a key/value for
Click Save in OpenShift console
View the secret in the console and confirm that the visible value of
ARTIFACTORY_ENCRYPTmatches the encrypted password shown in the Artifactory consoleOn the command line, run
igc credentialsand verify that the Artifactory details have been updated
Update the secret - Kubernetes and OpenShift 3
To update the secret in Kuberentes or Openshift 3, navigate to the secret called artifactory-access
in the tools namespace and update the following values. You will need encode these value in base64 key before
editing the secret.
Kubernetes secrets store data in base64 format. So to store Artifactory’s encrypted password in a secret, it needs to be encoded into base64.
Any base64 encoding tool will work. For example:
Go to the Base64 Encode website
Paste the encrypted password into the online tool and press the Encode button
In the field below, copy the encoded value into you clipboard or store it somewhere safe
Find the
ARTIFACTORY_ENCRYPTvalue (underdata) and paste in the Artifactory base64 key into the fieldFind the
ARTIFACTORY_PASSWORDvalue (underdata) and paste in the
Rerun the Pipeline
Previously, when you deployed you first app, the pipeline’s Package Helm Chart stage didn’t store the chart because
the ARTIFACTORY_ENCRYPT property was not set. Now that it has been set, rerun your pipeline and check that the Helm
chart for your app is stored correctly in Artifactory with matching semantic version information.
In the Artifactory console, select the Artifacts page and expand the
generic-localrepository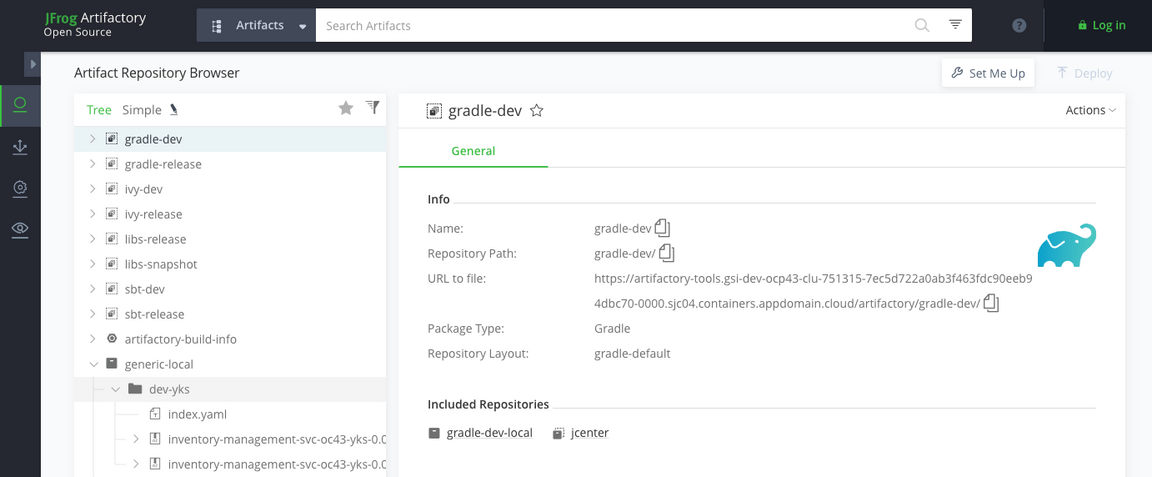
You will see a folder named after your resource group containing the tar file for a Helm chart.
Conclusion
Artifactory is now set up in your environment and CI pipelines can store Helm charts in Artifactory repository. Artifactory can now be used as a Helm repository for CD tools like ArgoCD and IBM Cloud Pak for Multi Cloud Management.